
初学者必看:如何正确安装和更换打印机色带
别逼我黑化
2024-09-26 15:28:26
0次
初学者必看:如何正确安装和更换打印机色带
一、中文版
在办公室或者家庭环境中,打印机是我们常用的设备之一。在使用打印机的过程中,更换色带是一项必要的维护工作。下面是关于如何正确安装和更换打印机色带的详细步骤:
1. 准备工具和材料
首先,需要准备好新的色带,并确保色带型号与打印机型号相匹配。此外,还需要一些工具,如螺丝刀、扳手等。
2. 关闭打印机电源
在开始更换色带之前,一定要先关闭打印机的电源,以避免因误操作而造成损害。
3. 打开打印机并取出旧色带
使用螺丝刀或其他工具打开打印机的面板,找到旧色带的位置,并将其轻轻取出。注意不要用力过猛,以免损坏打印机内部的其他部件。
4. 安装新色带
将新色带放入打印机中,确保色带的方向正确。根据打印机的不同型号,安装新色带的方法也有所不同。请仔细阅读打印机的使用手册或参考官方网站上的操作指南。
5. 调整色带位置
安装好新色带后,需要调整色带的位置和张力,以确保打印效果最佳。一般来说,需要根据打印机的使用手册进行相应的调整。
6. 关闭打印机面板并测试打印
在完成上述步骤后,关闭打印机的面板,并重新开启电源。然后进行一次测试打印,以确保打印机正常工作。
二、英文版
 In office or home environments, printers are one of the commonly used devices. In the process of using the printer, replacing the ribbon is a necessary maintenance task. Below are the detailed steps on how to correctly install and replace the printer ribbon:
1. Prepare tools and materials
First, prepare a new ribbon and ensure that the model of the ribbon matches the printer model. Additionally, you will need some tools such as a screwdriver, wrench, etc.
2. Turn off the printer power
Before starting to replace the ribbon, make sure to turn off the power of the printer to avoid damage caused by misoperation.
3. Open the printer and take out the old ribbon
Use a screwdriver or other tools to open the printer panel, find the location of the old ribbon, and gently take it out. Be careful not to use too much force, in case of damaging other parts inside the printer.
4. Install the new ribbon
Put the new ribbon into the printer and make sure the direction of the ribbon is correct. The method of installing a new ribbon varies depending on the model of the printer. Please carefully read the printer's manual or refer to the operation guide on the official website.
5. Adjust the position of the ribbon
After installing the new ribbon, adjust the position and tension of the ribbon to ensure optimal printing results. Generally, you need to make corresponding adjustments according to the printer manual.
6. Close the printer panel and test print
After completing the above steps, close the printer panel and turn on the power again. Then perform a test print to ensure that the printer is working properly.
In office or home environments, printers are one of the commonly used devices. In the process of using the printer, replacing the ribbon is a necessary maintenance task. Below are the detailed steps on how to correctly install and replace the printer ribbon:
1. Prepare tools and materials
First, prepare a new ribbon and ensure that the model of the ribbon matches the printer model. Additionally, you will need some tools such as a screwdriver, wrench, etc.
2. Turn off the printer power
Before starting to replace the ribbon, make sure to turn off the power of the printer to avoid damage caused by misoperation.
3. Open the printer and take out the old ribbon
Use a screwdriver or other tools to open the printer panel, find the location of the old ribbon, and gently take it out. Be careful not to use too much force, in case of damaging other parts inside the printer.
4. Install the new ribbon
Put the new ribbon into the printer and make sure the direction of the ribbon is correct. The method of installing a new ribbon varies depending on the model of the printer. Please carefully read the printer's manual or refer to the operation guide on the official website.
5. Adjust the position of the ribbon
After installing the new ribbon, adjust the position and tension of the ribbon to ensure optimal printing results. Generally, you need to make corresponding adjustments according to the printer manual.
6. Close the printer panel and test print
After completing the above steps, close the printer panel and turn on the power again. Then perform a test print to ensure that the printer is working properly.
Beginner's Guide: How to Correctly Install and Replace Printer Ribbon
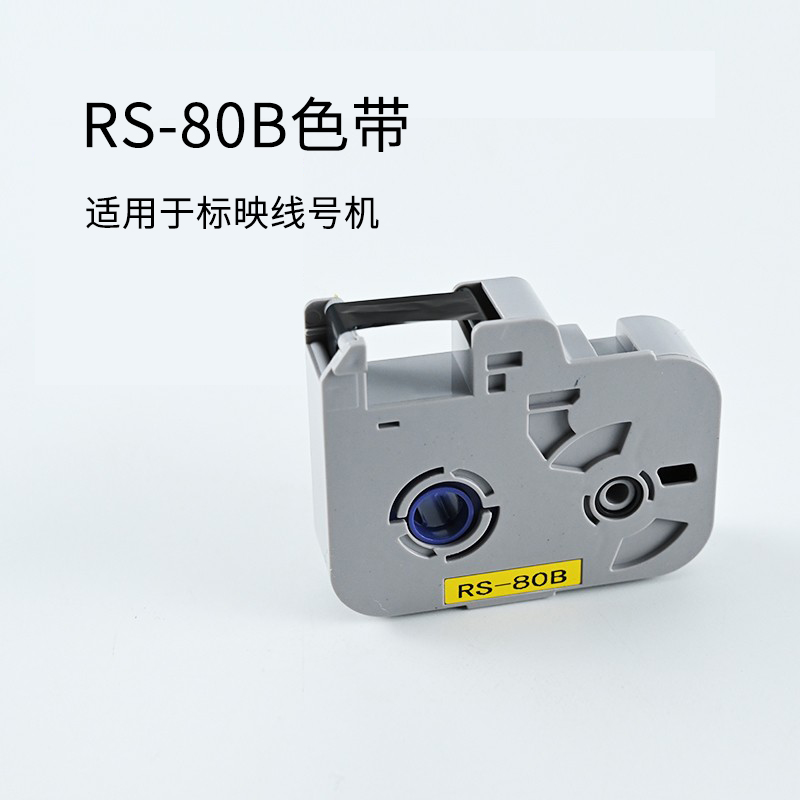
标映线号机色带rs-80b打码机全网价:25.71元,售价:18元
相关内容
热门资讯
色带——你了解它的寿命与更换吗...
本文介绍了色带在打印设备中的重要性及其寿命与更换方法。色带影响打印效果,其寿命受多种因素影响。更换时...
色带损坏怎么办?快速更换与维修...
色带损坏会影响设备正常工作,本文提供色带更换与维修的步骤指南,包括准备工具、拆卸、安装新色带及维修指...
不同品牌色带对比评测,哪款更适...
摘要:
本文对比评测了不同品牌的色带,包括经济实惠型、高性能型、高耐用性型和色彩鲜艳型。选择适合的...
色带大比拼:质量、性能、价格全...
本文全面比较了色带产品的质量、性能和价格。质量关注材料、制造工艺和品牌信誉;性能注重色彩鲜艳度和打印...
色带更换步骤详解,轻松DIY
本文介绍了DIY更换打印机、传真机等设备色带的详细步骤,包括准备工作、打开设备、拆卸旧色带、安装新色...
打印机耗材中的好帮手——不同品...
文章简要分析了不同品牌色带的特点与优缺点,强调选择时应根据需求和预算综合考虑,注意色带品质与打印机兼...
打印机色带的正确使用与维护方法
本文介绍了打印机色带的正确使用与维护方法,包括安装前准备、安装步骤、选择合适的色带、打印设置以及定期...
色带更换指南:让打印机重获新生
本指南详述了如何为打印机更换色带,包括准备工作、更换步骤及注意事项,让打印机重获新生。准备新色带和工...
办公室必备技能:色带的选择与更...
办公室必备技能:色带选择与更换技巧。需根据打印机类型、打印需求和色带质量选色带,注意成本。更换时需关...
兼容色带与原装色带,哪个更合适...
本文探讨了兼容色带与原装色带的优劣。兼容色带价格低廉,适合预算有限用户;原装色带质量稳定,可保证打印...